

What follows is a post from the Close To My Heart home office. Contact me if you have any questions.
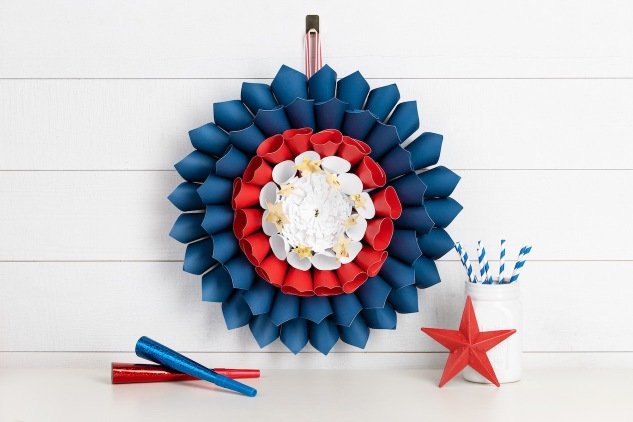
Easy DIY Patriotic Wreath
What better way is there to kick off the summer months than with a beautiful patriotic wreath? Display it on your porch or mantel, hang it on a wall, or place it on a shelf to be admired. It will become that conversation piece in your space that you can proudly say, “Yep, I made that!”
Materials you will need:
- 6 Sapphire cardstock sheets (12″ x 12″)
- 2 Candy Apple cardstock sheets (12″ x 12″)
- 3 White Daisy cardstock sheets (12″ x 12″)
- 4 cardstock sheets (12″ x 12″) of any color (these will be used to form the base)
- 1 gold foil paper sheet (optional)
- Gold sequins (optional)
- Glue Dots® (optional)
- Liquid Glass or hot glue gun
- Paper trimmer or scissors
- 1 standard paper baking cup
- Pencil (optional)
- Cricut® Flower Market Digital Collection
- Cricut® Artbooking Digital Collection (optional)
Once you’ve gathered all of your materials, follow these easy steps and begin assembling your wreath.
Step 1—Cut your paper into the following shapes and sizes:
46 – 4″ x 4″ Sapphire cardstock squares
16 – 3½” x 3½” Candy Apple cardstock squares
12 – White Daisy cardstock squares
3 – 9½” cardstock circles, any color*
1 – 2¼”, 2½”, 2¾”, 3″, 4¼”, 4½”, 4¾”, 5″ White Daisy sunburst*
1 – 5¾” cardstock circle, any color (optional template)*
8 –1¼” gold foil stars (optional embellishment)**
2 – 1½” and 2″ gold foil stars (optional embellishment)**
4 – 1¾” gold foil stars (optional embellishment)**
*These shapes can be cut using this Cricut Design Space™ file. If you own a Cricut® machine but do not have access to Design Space, see the recipe at the end of this post for additional cutting information.
**These shapes can be cut using the Cricut® Flower Market collection, Shift + Background <p> or #MD431D.
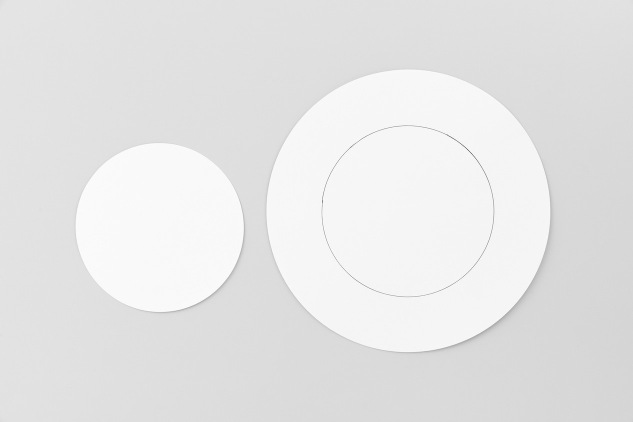
Step 2—Build your base.
Stack and attach all three 9½” cardstock circles on top of one another to create your base. Use the optional smaller 5¾” cardstock circle and, with a pencil, trace a guideline onto your base. If you did not cut this piece, draw a guideline by hand approximately 2″ from the edge.
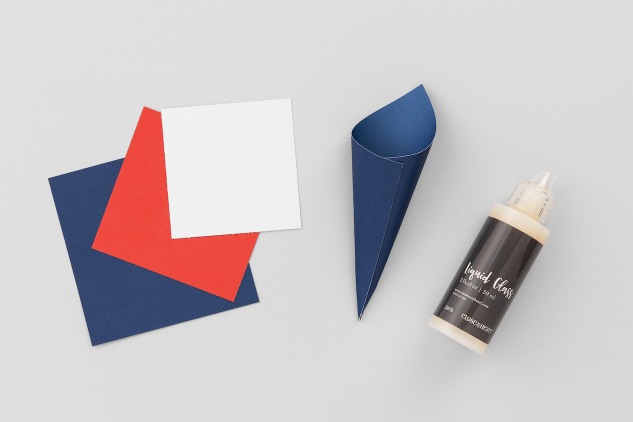
Step 3—Form your petals.
Once your paper is all cut, roll each square piece like a cone, leaving it open on the top and closed at the bottom; seal the seam with Liquid Glass or hot glue. Roll up each petal keeping the same color intensity of our two-toned cardstock on the outside of each.

Step 4—Assemble the Outer Wreath.
Using the penciled circle as your guide, start building your wreath starting with the outside layer. Attach your largest petals onto the base, seam down, leaving about a finger width between each. (Tip: pinch the bottom tip of the cone flat when adding adhesive).
When building your second row, place the petals in the spaces created in the first layer, and so on.
Use the large Sapphire petals for the first two layers, then create one layer using the medium-sized Candy Apple petals, and complete the final third layer using the small White Daisy petals.
(Depending on how tightly you roll your petals and how close you attach them, you may end up using a different number than you originally cut.)
Step 5—Build the Center Wreath. Gather your remaining pieces.
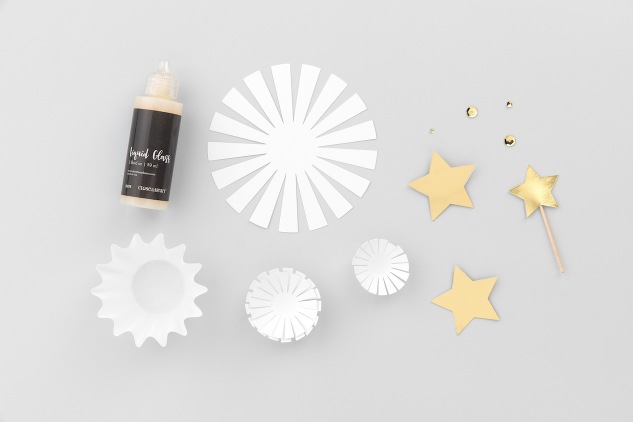
First, gently bend the “rays” of each sunburst paper piece up with your fingers. Stack and attach all of these pieces together from largest to smallest, with the largest piece on the bottom. Next, glue the paper baking cup, open end down, to the center of the wreath. The baking cup will act as a stand for the sunburst flower you just created so it won’t get buried in the middle of all the wreath’s petals. Glue the bottom of the sunburst flower to the baking cup.
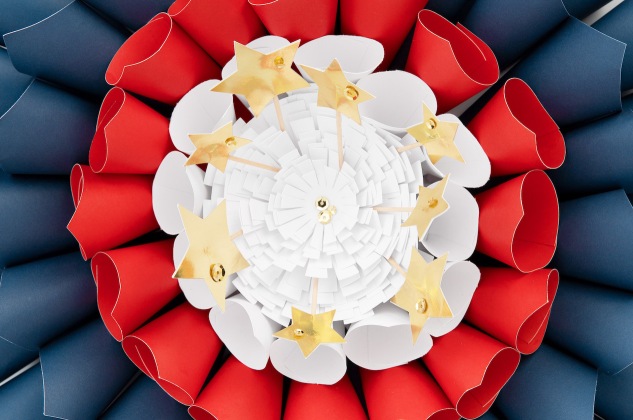
Finally, embellish the center of your wreath with the optional gold foil stars and sequins. For our center, we sandwiched two stars of the same size around a toothpick and then attached the toothpick to the white center by wrapping the bottom of it with a glue dot.
Step 6—Display your completed wreath with pride!
Cricut® Shapes:
Artbooking
5¾”, 9½” Shift + Border <TeamWork> (p. 83, #M46F6E)
1¼”, 1½”, 1¾”, 2″ Icon <m> (p. 74, #M3E9BD)
Flower Market
2¼”, 2½”, 2¾”, 3″, 4¼”, 4½”, 4¾”, 5″ Shift + Background <P> (p. 20, #MD4313D)